ViralCut Pro
How to turn a podcast into shorts people can follow.
Choose one complete idea, frame the people clearly, add readable captions and watch the finished clip before posting. Here is the workflow, from your source video to a ready-to-share short.
Footage: NASA’s Curious Universe. No affiliation or endorsement.
A practical editing guide
A short needs to work without the full episode.
The strongest passage in a long conversation is not always a useful standalone clip. A viewer may not know your guest, the previous question or what “that” refers to. Start with a passage that introduces its subject and reaches a clear point before it ends.
This guide is for video podcasts and interviews you own or have permission to repurpose. It uses ViralCut Pro’s browser-based Studio. An audio-only recording needs a separate visual-production workflow.
By the ViralCut Pro team · Updated .
The edit, step by step
Six steps from episode to short.
1. Start with a clean source video
Upload your episode or add an accessible YouTube link. Use the original recording where possible so the exported text and crop stay readable. Check that the dialogue is audible and that you have permission to reuse the material. If a link cannot be imported, upload your source file.
2. Choose AI creation or manual editing
In Studio, choose Create with AI to analyze the video and prepare a first short. Choose Edit manually if you already know the passage: opening the editor does not itself consume analysis minutes, and you can request AI suggestions when needed. Select your vertical destination before editing.
3. Keep one complete idea
Look for a question and answer, a concrete lesson or a story with a payoff. Start where a new viewer can understand the subject, and finish after the thought resolves. In manual editing, adjust the clip boundaries to preserve complete sentences. Treat AI scores as suggestions, not forecasts of views.
For example, a guest saying “That changed everything” needs the explanation before it. A clip beginning with the actual change gives viewers enough context. Avoid combining quotes in a way that changes the speaker’s meaning.
4. Choose a frame that preserves the conversation
A 9:16 crop removes much of a widescreen image. Fill keeps a prominent subject; Fit preserves the whole picture; Blur offers another framing treatment. For a group discussion or an important slide, start with Fit so the context stays visible.
ViralCut uses visual person and head tracking. It does not identify the active speaker from audio. Tracking is computed during rendering, so check the exported result across gestures and camera cuts; the source preview is not a final tracking preview.
5. Style captions, then check the rendered words
Set caption style, size, color and position. Keep text clear of faces and the areas your publishing app covers with buttons or descriptions. ViralCut transcribes and burns captions into the video during export. Style previews help you choose the look, but watch the rendered text for names, jargon and transcription errors before publishing.
6. Render, review and download
Queue your render and open My Shorts to follow its progress. Once it is ready, watch it with sound and again with sound off. Check the first frame, the last sentence, caption readability and the crop. Download the finished video and use your normal Shorts, Reels or TikTok publishing workflow.
See the transformation
Same words. A different frame.
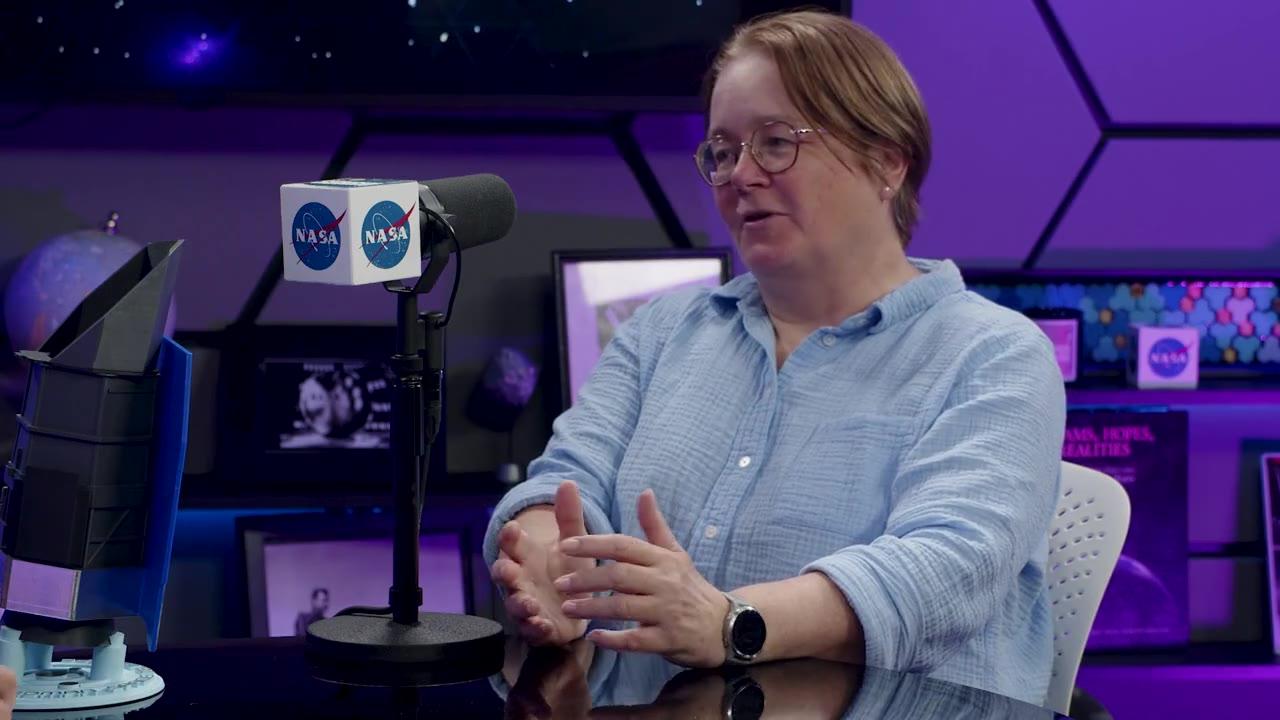
This 14-second excerpt shows the landscape source beside a real ViralCut export with person tracking and burned-in captions. The passage was selected for the demo; it is an output example, not a measured audience-retention result.
The footage is the proof
The conversation, as recorded.
Person tracked. Captions added.
Same 14 seconds. Actual ViralCut framing and caption render.
Watch the short full size ↗Demo footage: NASA’s Curious Universe. No affiliation or endorsement.
Transcript & footage credit
“The universe was behaving much more strangely than we imagined. And that instead of coasting out at the constant speed forever or slowing down, it in fact is accelerating. Huge, unexpected mystery.”
Source: NASA’s Curious Universe / NASA’s Goddard Space Flight Center. Excerpt selected for this demonstration; editing by ViralCut. No NASA affiliation or endorsement.
Notice what a narrow frame keeps and what it leaves out. Apply the same check to your own footage before choosing between a close crop and a full-scene layout.
The final watch-through
Before you publish a podcast short.
- Can a new viewer identify the subject without hearing the preceding question?
- Does the clip deliver the point its opening promises?
- Do names, numbers and technical words read correctly in the captions?
- Are faces and any essential diagrams visible through every camera cut?
- Is speech clear, with no cut-off opening or ending?
- Have you checked the video in the destination platform’s preview?
- Do you have the necessary permission and attribution for the source?
If the answer is no, revise the relevant part and review the next render. An attention-grabbing opening is useful only when the rest of the clip supports it.
Make the next short from the saved episode.
Return to the project for another moment, or make a new version of the current short. ViralCut can reuse saved source analysis without spending additional analysis minutes. Rendering remains subject to fair-use limits; see plans and usage.
After publishing, compare audience retention, meaningful comments and visits to your episode or product. Keep a note of the opening, topic and length for each clip. Use those observations to choose your next passage; posting more clips alone does not guarantee growth.
Explore ViralCut for podcasters, the YouTube-to-Shorts workflow, or our OpusClip alternative comparison if you are choosing an editing tool.
Your next edit
You already recorded it.
Now make it a short.
Give your next upload a head start with the footage you already have.